

Choose a provider
The Provider field sets which object storage service hosts the bucket, and which connection fields the form shows:
Today only AWS S3 supports IAM role authentication; every other provider uses access keys.
Choose an authentication type (AWS S3)
- IAM role (recommended): OpenRouter assumes a role in your AWS account and gets short-lived credentials for each session, so there are no long-lived keys to create, store, or rotate. To cut off access, remove OpenRouter from the role’s trust policy, which blocks new sessions, or delete the role. Credentials from a session that already started stay valid for up to an hour unless you also revoke the role’s active sessions in IAM. Fields: Role ARN and Region. OpenRouter fills in the read-only External ID when you save.
- Access keys: an IAM user’s access key ID and secret access key. Use this if you can’t create IAM roles in the account. Fields: Access Key Id, Secret Access Key, optional Session Token, and optional Region. When Region is blank, OpenRouter looks the bucket’s region up with
s3:GetBucketLocationand falls back tous-east-1if the key can’t call it, so set Region or grant that permission for buckets in other regions.
Set up with access keys
Step 1: Create a bucket and credentials
In your cloud provider’s console, create a bucket for storing traces (or use an existing one) and generate access credentials with write permissions to the bucket. For AWS S3:- Go to IAM > Users and create a new user with programmatic access
- Attach a policy that allows
s3:PutObjecton your bucket - Copy the Access Key ID and Secret Access Key
- Create a new R2 bucket in your Cloudflare dashboard
- Go to R2 > Manage R2 API Tokens and create a new token with write permissions
- Copy the Access Key ID, Secret Access Key, and your account’s S3 endpoint
Step 2: Enable Broadcast in OpenRouter
Go to Settings > Observability and toggle Enable Broadcast.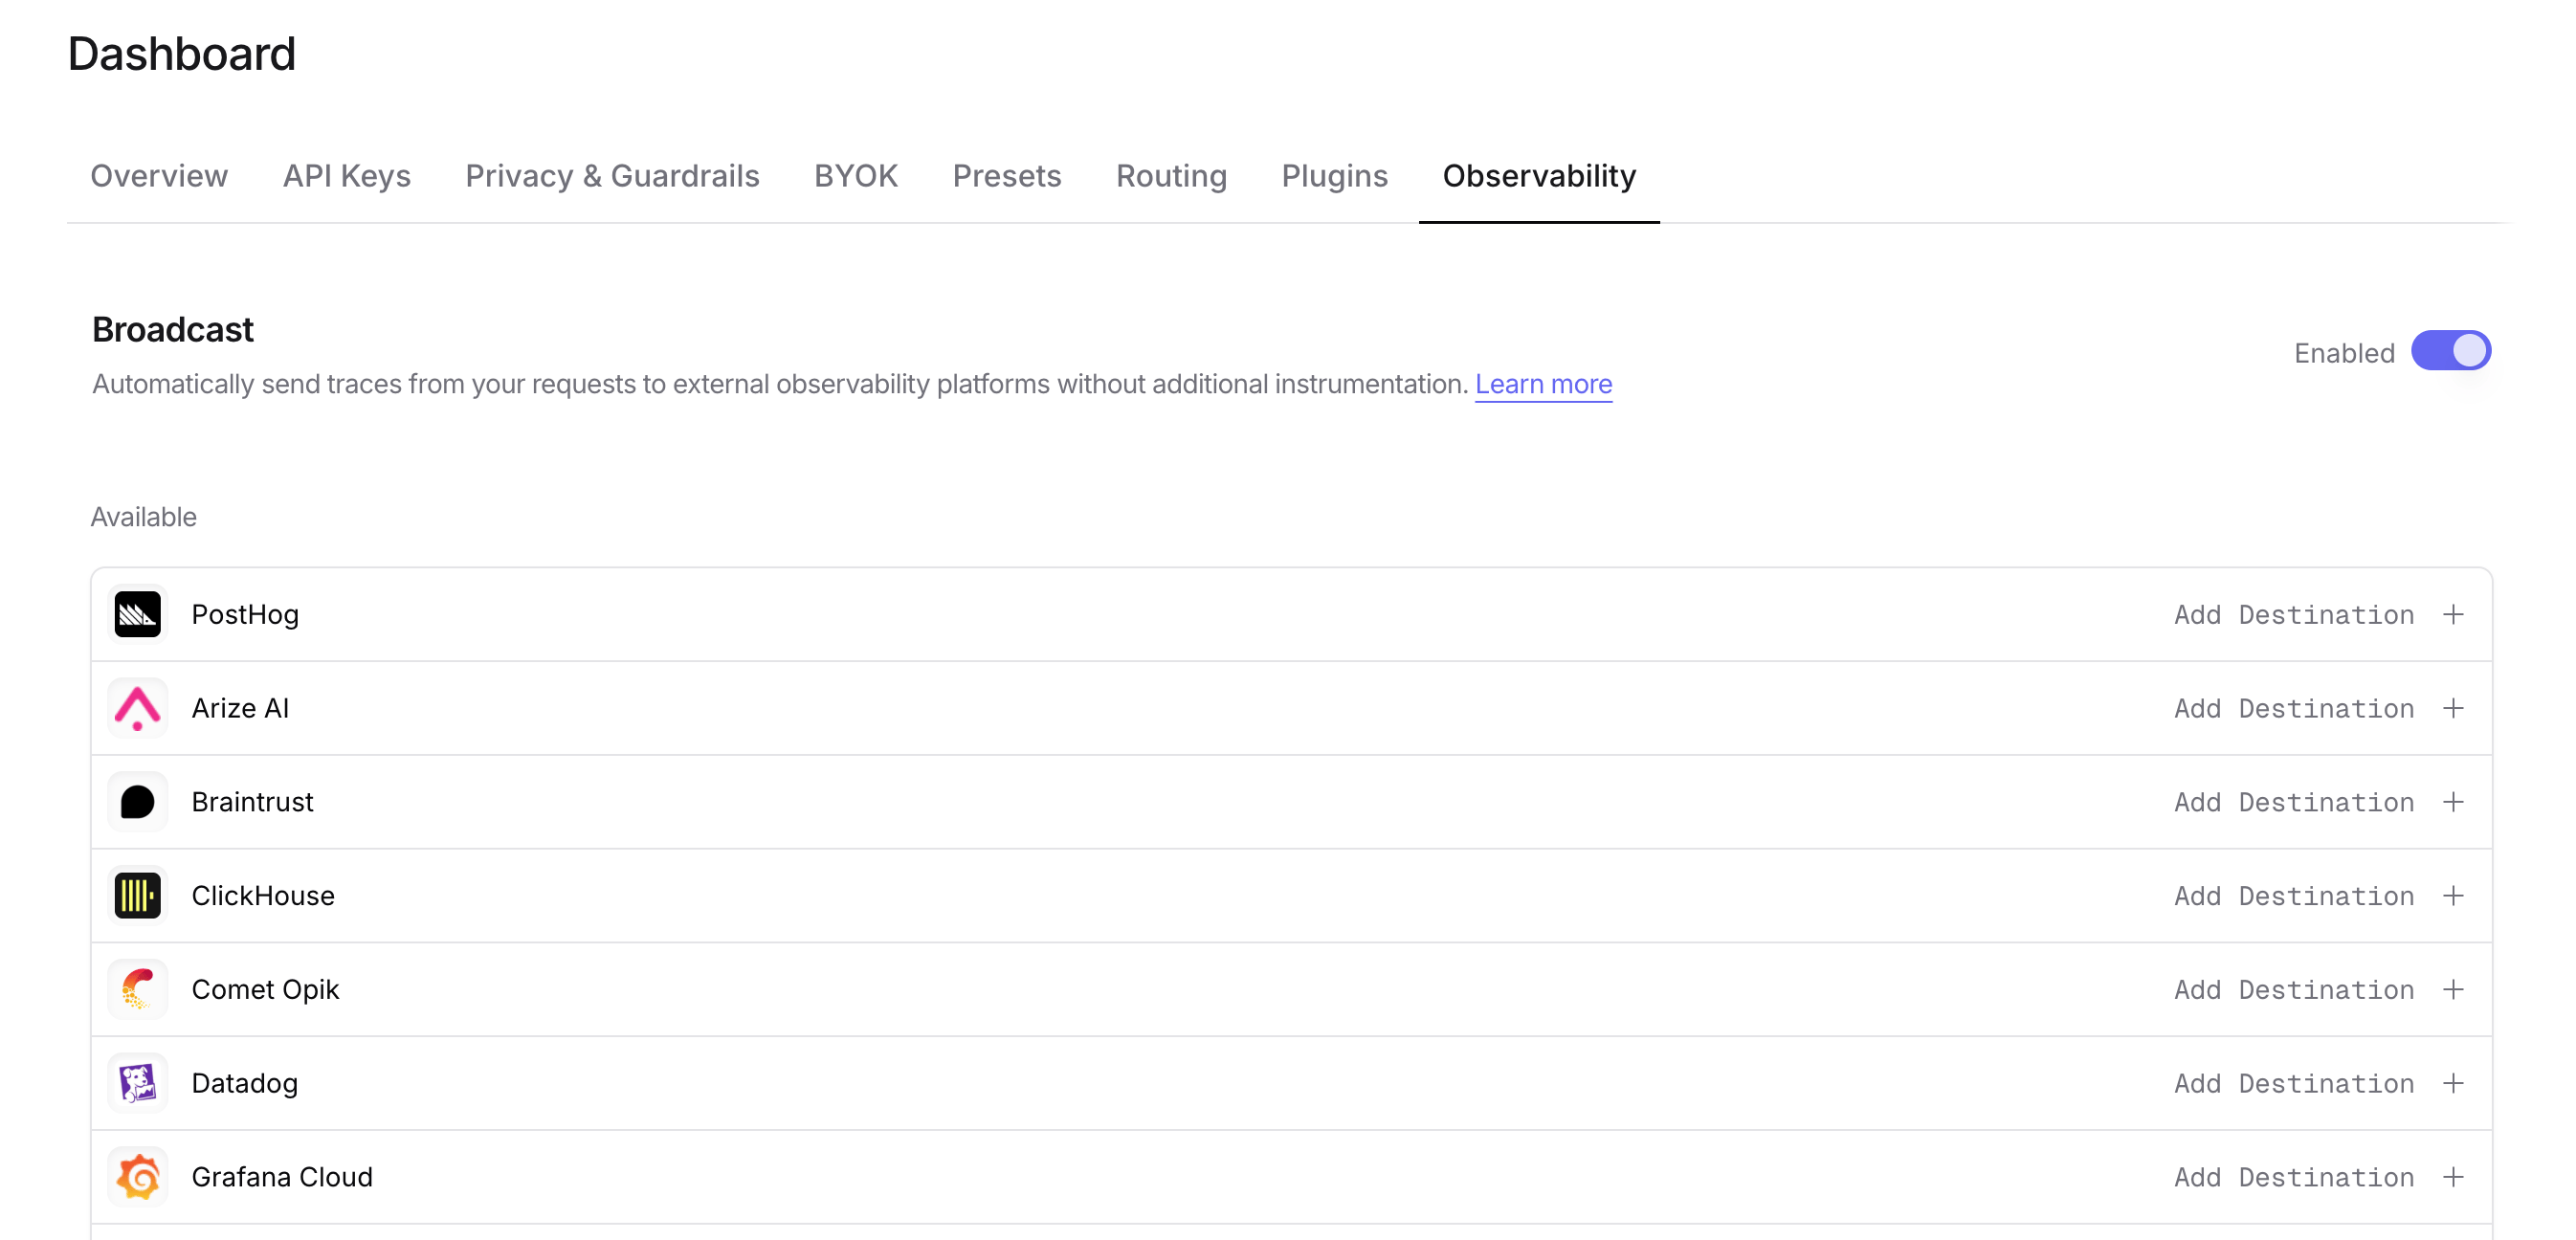
Step 3: Configure S3
Click the edit icon next to S3 / S3-Compatible and enter:- Provider: The service that hosts the bucket (see Choose a provider)
- Authentication (AWS S3 only): Access keys
- Bucket Name: Your S3 bucket name (e.g.,
my-traces-bucket) - Region (optional): AWS region (auto-detected for AWS, required for some S3-compatible services)
- Custom Endpoint (all providers except AWS S3): The endpoint URL (e.g.,
https://your-account-id.r2.cloudflarestorage.com) - Access Key Id: Your access key ID
- Secret Access Key: Your secret access key
- Session Token (optional): For temporary credentials
- Path Template (optional): Customize the object path. Default is
openrouter-traces/{date}. Available variables:{prefix},{date},{year},{month},{day},{apiKeyName}
Step 4: Test and save
Click Test Connection to verify the setup. The configuration only saves if the test passes.Step 5: Send a test trace
Make an API request through OpenRouter and check your S3 bucket for the trace file. Each trace exported on its own is saved as a separate JSON file named{traceId}-{timestamp}.json; a batch export writes one batch-{timestamp}.json file holding a traces array.
Set up with an IAM role
OpenRouter’s exporter role assumes a role you create in your AWS account. You grant that access with the role’s trust policy, and the role’s permissions policy limits it to writing traces.Step 1: Create the destination and save it
Enable Broadcast at Settings > Observability, click the edit icon next to S3 / S3-Compatible, and enter:- Provider: AWS S3
- Authentication: IAM role
- Role ARN: The ARN of the role OpenRouter will assume, e.g.
arn:aws:iam::123456789012:role/openrouter-broadcast. The role doesn’t need to exist yet. - Bucket Name and Region: The bucket and its AWS region. The region is required for IAM roles.
- Path Template (optional): As for access keys. Default is
openrouter-traces/{date}.
Step 2: Copy the exporter role ARN and External ID
Reopen the destination and copy two values:- OpenRouter’s exporter role ARN:
arn:aws:iam::536697249728:role/openrouter-broadcast-exporter - The destination’s External ID
Step 3: Add the trust policy
In your AWS account, open the role in IAM > Roles (create it with a custom trust policy if it doesn’t exist) and set its trust policy to allowsts:AssumeRole from OpenRouter’s exporter role, only with this destination’s External ID:
YOUR_DESTINATION_EXTERNAL_ID with the value from Step 2. If two destinations share one role, list both External IDs: "sts:ExternalId": ["id-1", "id-2"]. When adding a destination to a role that already has a trust policy, add its ID to the existing list instead of pasting the generated policy over it, which would drop the other destination’s ID.
Step 4: Attach a permissions policy
Attach a policy that allowss3:PutObject on the bucket and the fixed prefix of your path template. If the bucket encrypts with SSE-KMS using a customer managed key, also allow kms:GenerateDataKey and kms:Encrypt on that key:
{apiKeyName}, there is no fixed prefix, so the resource covers the whole bucket (arn:aws:s3:::my-traces-bucket/*). The key policy must also let the role use the key; for a key in the role’s own account, a key policy with the default Enable IAM User Permissions statement needs no change. A key in a different account must also grant the role kms:GenerateDataKey and kms:Encrypt in its key policy. Likewise, if the bucket belongs to a different AWS account than the role, the bucket policy must also grant the role s3:PutObject; the role’s own policy is enough only for a bucket in the role’s account.
If the role doesn’t exist yet, instead of Steps 3 and 4 you can click Download template in the panel and deploy the CloudFormation template it downloads. It creates a new role from your Role ARN with both policies filled in; it can’t adopt a role that already exists, so for an existing role attach the policies by hand. For an SSE-KMS bucket, enter the key ARN in the panel first so the template includes the KMS statement. Deploy it in the account named in the Role ARN, from the CloudFormation console (Create stack > With new resources > Upload a template file) or with the AWS CLI:
openrouter-broadcast-role (1).json, pass that file to --template-file or delete the older file first.
Step 5: Test the connection
Back in the destination, click Test Connection. OpenRouter assumes your role and writes.openrouter-connection-test.json under the path template’s prefix (for the default template, openrouter-traces/<today's date>/.openrouter-connection-test.json). Once it passes, send a request through OpenRouter and check the bucket for its trace file.
Why the External ID exists
OpenRouter uses one exporter role to write to every customer’s bucket. Without an External ID, anyone who learned your role’s ARN could create their own destination with that ARN and have OpenRouter write into your bucket. This is the confused deputy problem. OpenRouter generates the External ID itself, never accepts one you supply, and sends the destination’s own ID on every AssumeRole call, so your trust policy only admits requests made for your destination. Nothing changes on OpenRouter’s side for each customer: the exporter role and its permissions stay the same, and all setup happens in your AWS account.Troubleshooting
When AWS denies access on an IAM role destination, Test Connection shows onlyDestination rejected the request (status 403), whichever step AWS rejected. Other statuses have other causes: 429 means AWS throttled the request (retry shortly), and 502 means OpenRouter’s side of the role chain failed rather than your setup. Check these causes in order:
- The trust policy is missing OpenRouter’s principal.
Principal.AWSmust be exactlyarn:aws:iam::536697249728:role/openrouter-broadcast-exporter. Don’t substitute the account root (arn:aws:iam::536697249728:root) or aPrincipal.Serviceentry: those trust a broader or different principal than the exporter role this guide sets up, and a typo matches nothing. Also check that the Role ARN on the destination names a role that exists. - The External ID is missing or doesn’t match. The trust policy needs
StringEqualsonsts:ExternalIdwith the destination’s External ID, character for character. Each destination has its own ID: deleting and re-creating a destination issues a new one, and a trust policy copied from another destination won’t work. If the trust policy had no External ID condition at all, Test Connection reports that the role accepts any external ID, and OpenRouter keeps rejecting the role for up to five minutes after you add the condition, so wait before testing again. - The permissions policy lacks
s3:PutObjecton the bucket and prefix. The test writes under the same path as real traces, so a policy scoped to another bucket or prefix fails. One exception: the test and batch exports have no single API key, so{apiKeyName}becomesunknownin their paths. A policy scoped tounknown/passes the test but rejects traces exported one at a time from named keys, and a policy scoped to one key name rejects batch files, so scope the policy to the fixed prefix before the first variable, as the panel does. Also check that the bucket policy doesn’t deny the role, for example by requiring a specific encryption header. - KMS permissions are missing. For an SSE-KMS bucket, the role needs
kms:GenerateDataKeyandkms:Encrypton the bucket’s key, and the key policy must let the role use it. - The bucket region is wrong. IAM role destinations don’t auto-detect the region, so the Region field must be the bucket’s region.
s3:PutObject on the bucket, or the key was deactivated.
Path template examples
Customize how traces are organized in your bucket:openrouter-traces/{date}- Default, organizes by date (e.g.,openrouter-traces/2024-01-15/abc123-1705312800.json)traces/{year}/{month}/{day}- Hierarchical date structure{apiKeyName}/{date}- Organize by API key name, then dateproduction/llm-traces/{date}- Custom prefix for environment separation
Custom Metadata
Custom metadata from thetrace field is included in the JSON trace file stored in your S3 bucket. The metadata is available in the metadata field of each observation within the trace.
Supported Metadata Keys
Example
Accessing Metadata in S3
Each trace file is a JSON object. Custom metadata keys fromtrace are stored in the metadata field and can be queried using tools like Amazon Athena, Presto, or any JSON-aware query engine:
Additional Context
- The
userfield maps touserIdin the trace JSON - The
session_idfield maps tosessionIdin the trace JSON - Trace files include full input/output messages, token counts, costs, and timing data alongside your custom metadata
Billing quantities
For a single-trace file, cache-write details live undertrace.observations[].promptTokensDetails. With the Cost metadata opt-in enabled, the generation quantities also appear under trace.metadata.openrouter_generation and the generation observation’s metadata.openrouter_generation.
For example, the generation metadata may contain:
traces[] instead of trace. Read each generation once. These representations repeat the same generation quantities; do not add them together. Null or omitted values are unavailable, while an explicit zero is a reported or observed zero. See Cost for estimation, TTL availability, and provider billing caveats.
Raw provider usage
The same metadata locations carryupstream_raw_response_usage as ordinary JSON, so no additional decoding step is needed:
null, and its keys are the provider’s own. Query it with a JSON-aware engine rather than a fixed column list, for example json_extract(metadata, '$.openrouter_generation.upstream_raw_response_usage') in Athena. When it is null, check upstream_raw_response_usage_suppression_reason to distinguish suppression from unavailable usage.
Privacy Mode
When Privacy Mode is enabled for this destination, prompt and completion content and provider error text are excluded from traces. All other trace data (token usage, costs, timing, model information, and custom metadata) is still sent normally. Raw provider usage is replaced withnull and reported as privacy_mode, because a provider’s usage object can contain arbitrary future fields. See Privacy Mode for details.